An Introduction to Arduino
and accompanying Electronic Components
Hello humans!
It’s been a while😭! I took some time away to unwind before the goals of Q1 and the new year issued their commands of servitude. And boy did the demands of the new year take hold! It’s been an amazing year with many adventures and new learnings which unfortunately took my attention away from Waves and Code😭. But fear not, we’re back with so much to share!
One of the random new things to walk into my life this year is Joon, my dear Juniper bonsai, which I stumbled upon on a random summer’s day in April. It was love at first price but the joy quickly turned to dread when I arrived home. Out of the corner of my eye, the lifeless carcass of Bonnie (my first bonsai) haunted me. I have been in love with bonsais for as long as I can remember, Mr. Miyagi, and my love of Japan probably has something to do with this obsession. The big problem is I’m not known to have a green thumb - that said, I really did try with Bonnie. I was wholeheartedly gutted when she passed and it’s taken me a few years to even consider getting another. So out of a need to do right by Joon, I turned to technology and decided to build a monitoring system for Joon using Arduino.
This brings us to today’s issue of Waves and Code, an introductory dive into the world of Arduino and electrical components. Knowing where to start can be confusing if you've never worked with electrical components or Arduino (like me). There are Arduino starter kits out there but from my experience, they were rather expensive compared to just buying the components I needed. So in this “part 1 of all things Arduino and electronic hardware”, I will demystify some basic and cheap components you need to start tinkering.
To kick us off, here is a small list of starter components.
Arduino Uno R3
Breadboard
Jumper Wires
Photoresistor
Battery Connector (9V or 2xAA)
LEDs
Resistors
Switch or Microswitch
Now let’s examine the hardware listed above in more detail.
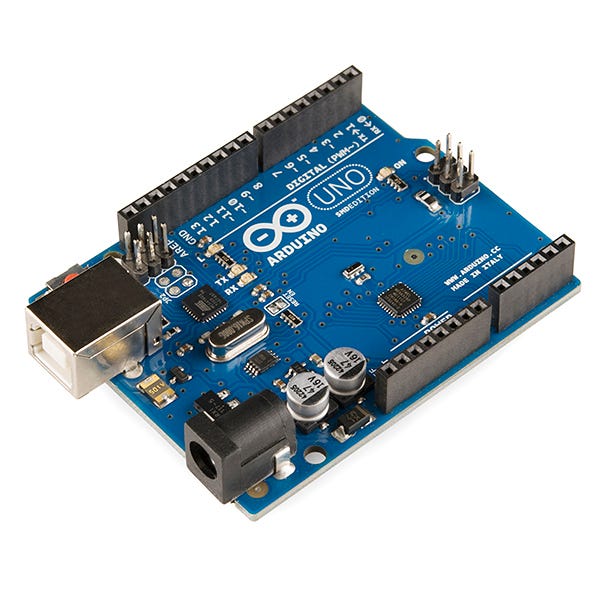
Arduino Uno
The Arduino Uno is a microcontroller board that's great for beginners.
It has 14 digital input/output pins, 6 analog inputs, and a USB connection. You can power it with a USB cable, an adapter, or a battery. It includes everything you need to start your projects, and if you make a mistake, you can easily replace the chip for a few dollars and try again.
Breadboard
A breadboard is a component that allows you to create and prototype electronic circuits quickly and easily. It provides a foundation with tiny holes that allow you to insert electric components to build circuits. They can be somewhat confusing upon first introduction but are simple enough to understand. The rows and columns are labeled in a similar way to a spreadsheet. So if we were referencing a hole in the first column and the first row, we would say A1. Learn how to use a breadboard by watching this short video by Science Buddies.
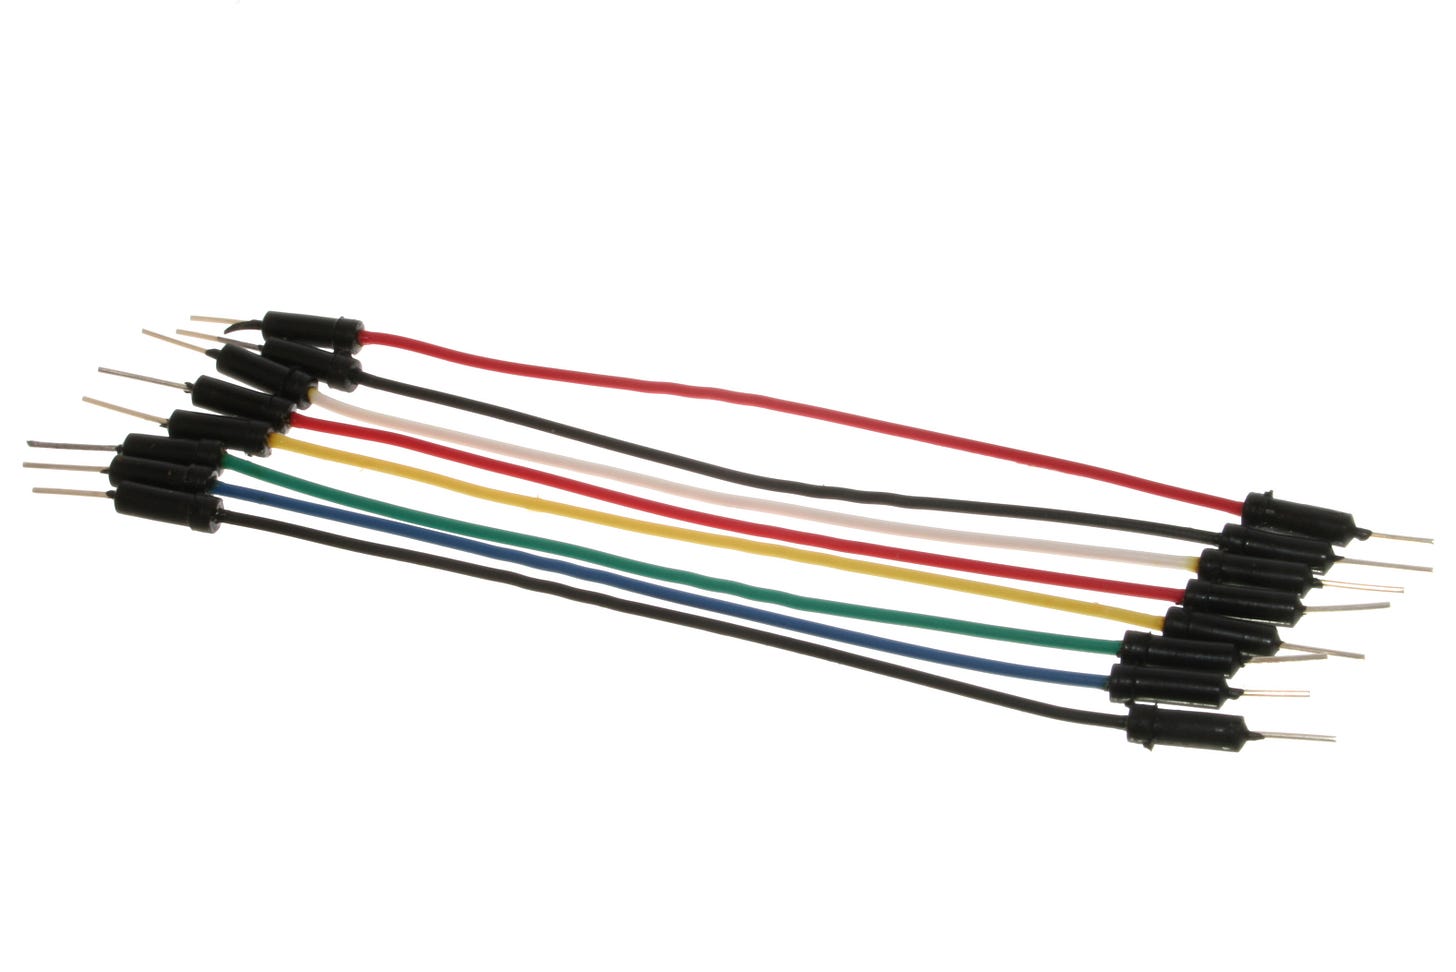
Jumper Wires
Jumper wires or jumper cables are just simple electrical wires with a connector or pin at each end. This makes connecting them to breadboards or other components easy without the need to solder the wires. Simply plug the jumper wire into the breadboard/component and you are good to go. PS: you want jumper wires with solid tips and a pin. You’ll be using these most when getting started.
Photoresistor
A photoresistor (sometimes called a photocell), is a sensor that decreases in resistance when light shines on its surface. They are generally not reliable for precise measurements of light due to the ambient temperature affecting their photoresistivity. They are a cool component to play with when getting started since they are cheap and easy to use. It’s satisfying to see the readings fluctuating when they are set up.
Battery Connector
Our circuits are going to need some electric input. The Arduino Uno can provide power to the breadboard however it’s useful to have a 9V or 2xAA battery connector on hand. This is useful for testing simpler circuits independent of the Uno.
LEDs
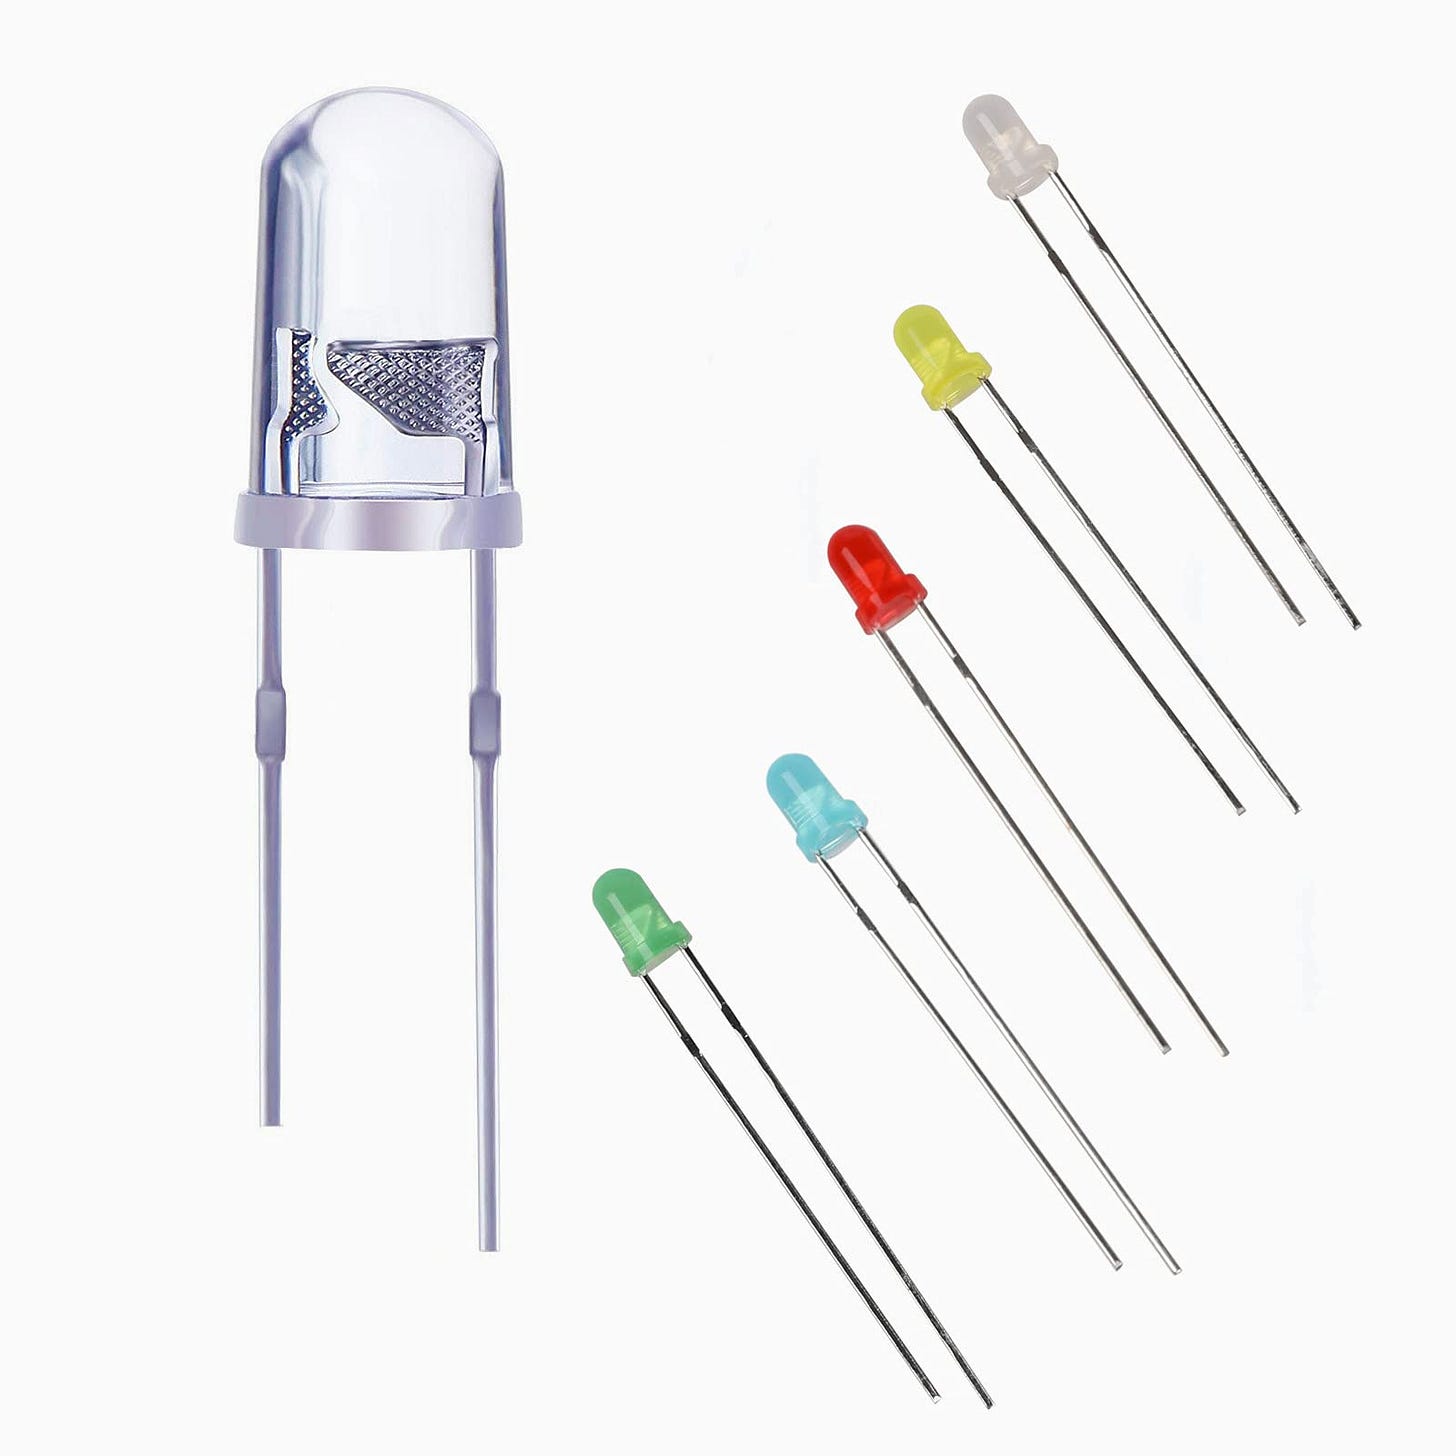
Light-emitting diodes(LEDs) are semiconductor devices that emit light when current flows through them. I’ve loved messing around with light sources since I was a kid and LEDs are no exception.
Some things to note when using LEDs:
Generally, the longer wire is the positive electrode(anode) and the shorter wire is the negative electrode(cathode).
Pushing too much current through it can burn it out. It’s generally advised to wire circuits with a resistor(see below) for safety.
This can all be a bit overwhelming when starting. My somewhat reckless advice is to grab a battery, try wiring it to an LED, and get it to light up. LEDs are inexpensive and burning a few out in your quest to light it up will give you some valuable learnings.
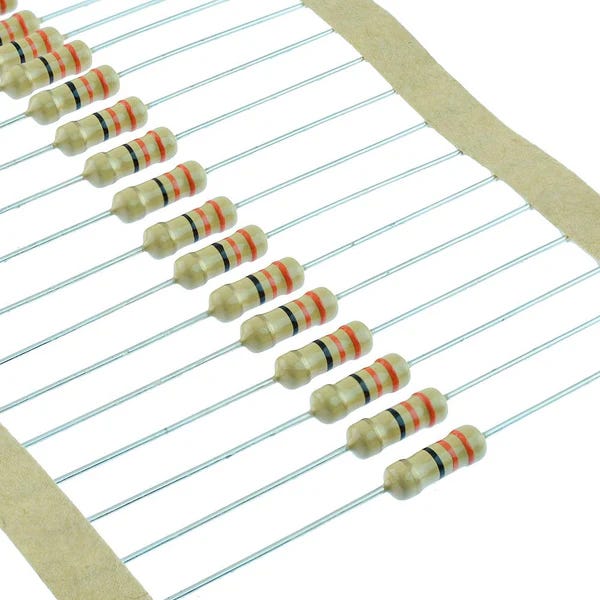
Resistors
These are used to regulate the flow of current in a circuit. As a newbie, we’ll mostly use resistors to reduce the flow of current in the circuit to protect our electrical components.
Understanding when and how to use resistors is not the most straightforward for a beginner and I intend diving deeper in following posts. For now, you can read up on this Arduino forum post.
Microswitch
A microswitch is a component we are most familiar with since we use switches daily. It is a small but highly sensitive switch that activates when a little pressure is applied to it. It uses a "snap-action" mechanism, meaning it switches from on to off (or vice versa) very quickly, even if you press it slowly.
The switch I bought has 4 pins that fit easily into a breadboard.
I acquired my starter components, now what?
In my experience, the best way to learn is by assembling circuits and making simple projects. A great resource to use is the Arduino Projects Book (PDF version available here on the Arduino Forum). It introduces the Arduino Uno and other electrical components not mentioned above. It also provides a list of different projects you can build.
Even though I jumped in recklessly on this project, I still love understanding things from the basics. The “Learn” section on Arduino docs is great for those who want strong foundational knowledge and understanding of everything Arduino.
With these devices purchased, you now can start creating some fun, simple, and rudimentary circuits. I intend to post some guides in the future with a walkthrough of some simple projects I’ve tried (more engagement & interest in this post will expedite the release of those articles). So please do leave a comment if this interests you!
And here in closing, a little tribute to my dearest first bonsai Bonnie. You will always have a special place.
Catch you on the next wave! 🤙


I love this ❤️. I recently got involved with arduino too. I’d to see some of the projects you’ve done